Prerequisites
After you installed DotNet SDK 3.1, run two commands below to generate two self-signed certificates letportal.pfx and letportal-cms.pfx
We strongly recommend to run all CLI with Powershell instead of CMD.
Warning: In CMD, you should use %USERPROFILE%. In Powershell, you should use ${USERPROFILE}.
dotnet dev-certs https -ep ${USERPROFILE}\.aspnet\https\letportal.pfx -p letportal
dotnet dev-certs https -ep ${USERPROFILE}\.aspnet\https\letportal-cms.pfx -p letportal
Install CLI Tool
Unzip source code and move to folder path cd .\src\web-apis, then run the script installation.ps1
cd .\src\web-apis
.\installation.ps1
Next, reopen Powershell to make sure the installation is complete. Try to run with command letportal --help
Try Docker Compose
Ensure you stay in the path .\src\web-apis and Docker is running. You run the command below to start pulling and running docker compose
docker-compose upAfter three services are running, you open new Powershell tab and check status with docker ps

Initial database
Next, open new Powershell tab and run step by step five commands below to install LET Portal database
letportal portal install -c mongodb://localhost:27117/letportal
letportal portal install -c mongodb://localhost:27117/letportal -pn cms
letportal identity install -c mongodb://localhost:27117/letportal
letportal identity install -c mongodb://localhost:27117/letportal -pn cms
letportal blog install -c mongodb://localhost:27117/cms
Try Angular
Move to .\src\web-portal folder and then run the command npm install -g. The command will help to install all related packages to run Angular.
Later, you just run the command below
npm run debug
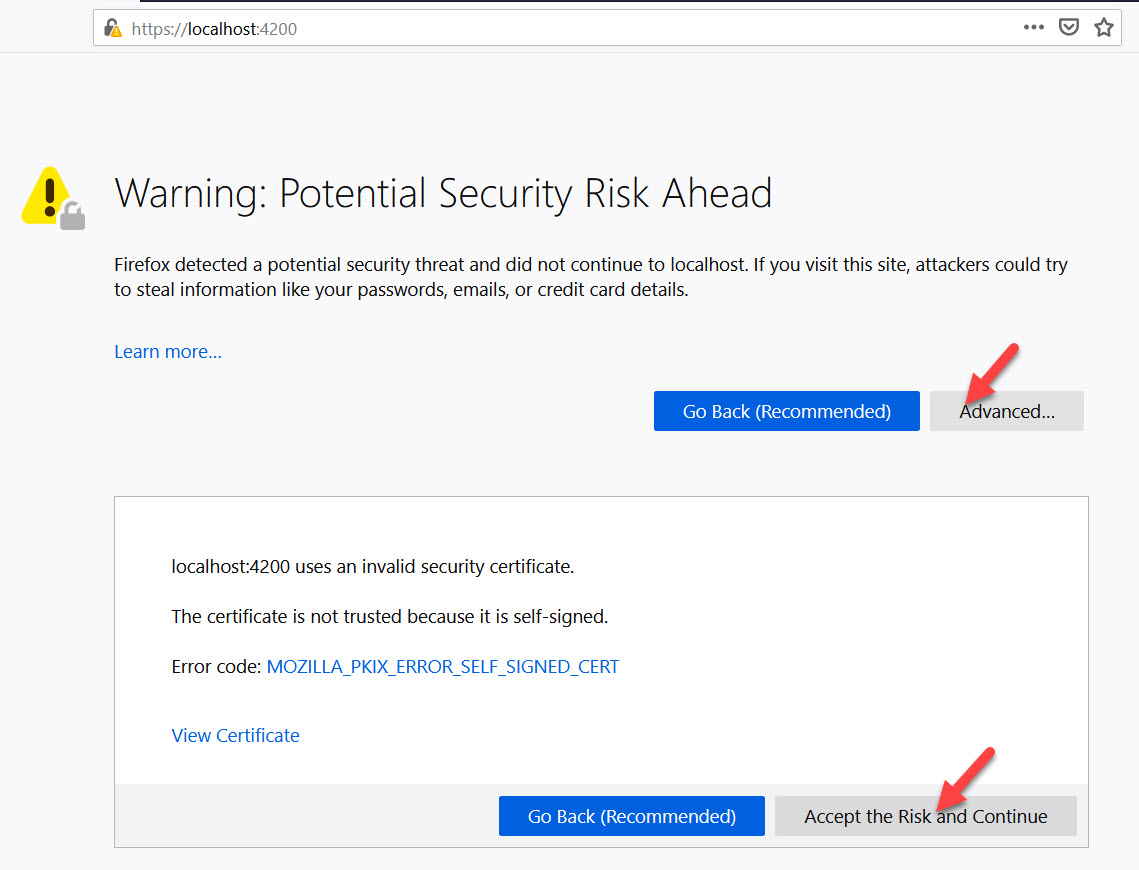
Then open browser tab, type the urls following the order to ignore self-signed SSL security: https://localhost:5102, https://localhost:5104 and https://localhost:4200
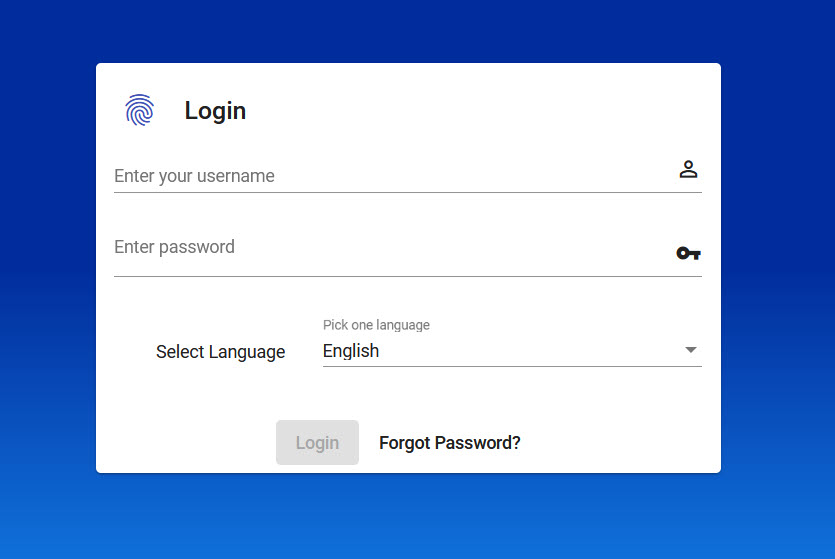
Later on you will see the login page below in https://localhost:4200
Play ground
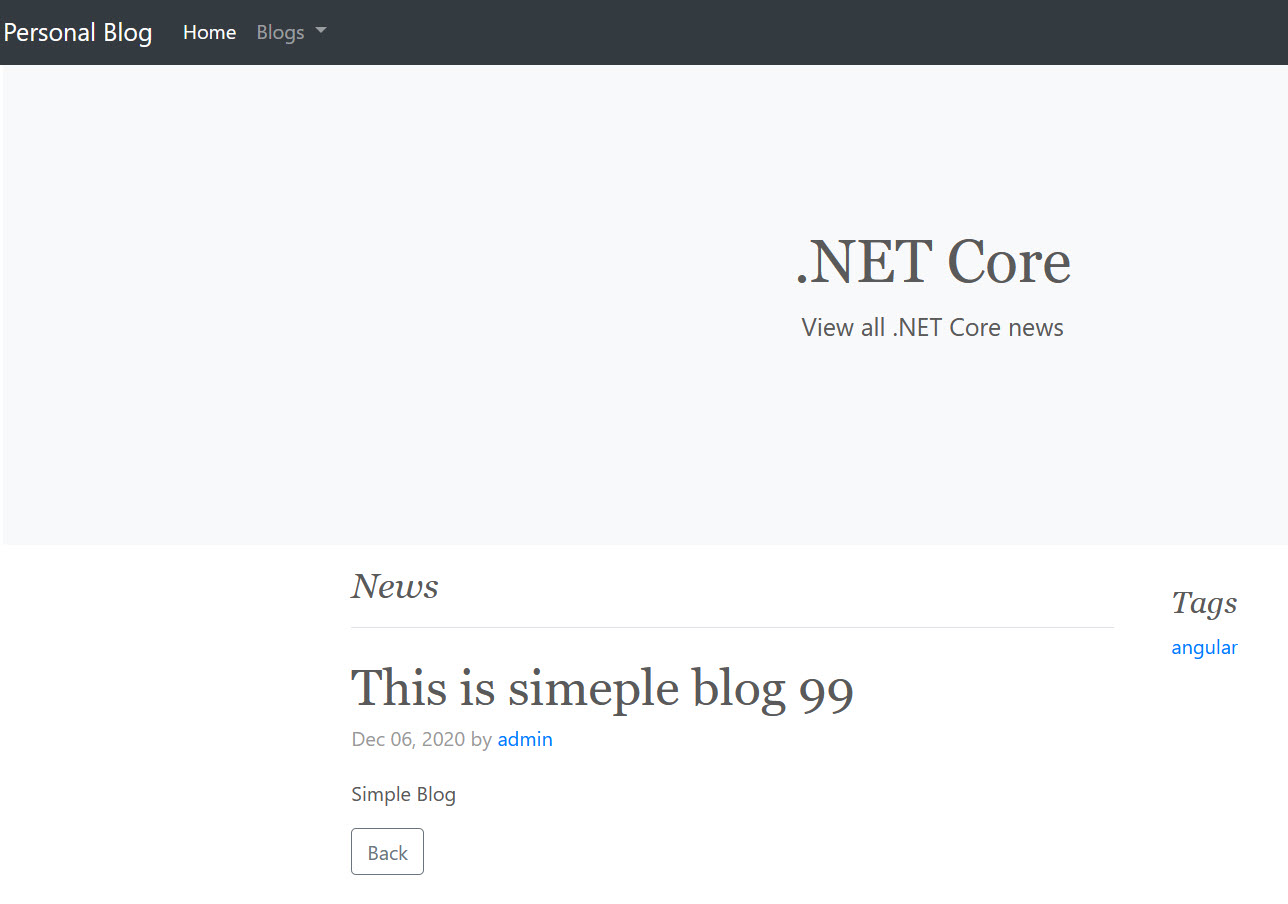
Open new tab, enter the url https://localhost:5104/blogs/dotnet-core, it will show you these posts in DotNet blog.
Then click on Read more button on Simple Blog 99 to view post detail. Next step is we will use LET Portal to change the content in this post.
Now back to LET Portal, login with account admin/@Dm1n!. Then choose CMS app, open the left menu, choose Blogs under Features.

In the Blogs page, click on pdf icon in the row of .NET Core to navigate to CMS Posts page.
Enter the text "99" in Search box, press Enter to see Post 99. Then click to edit icon to navigate to Edit Post page.
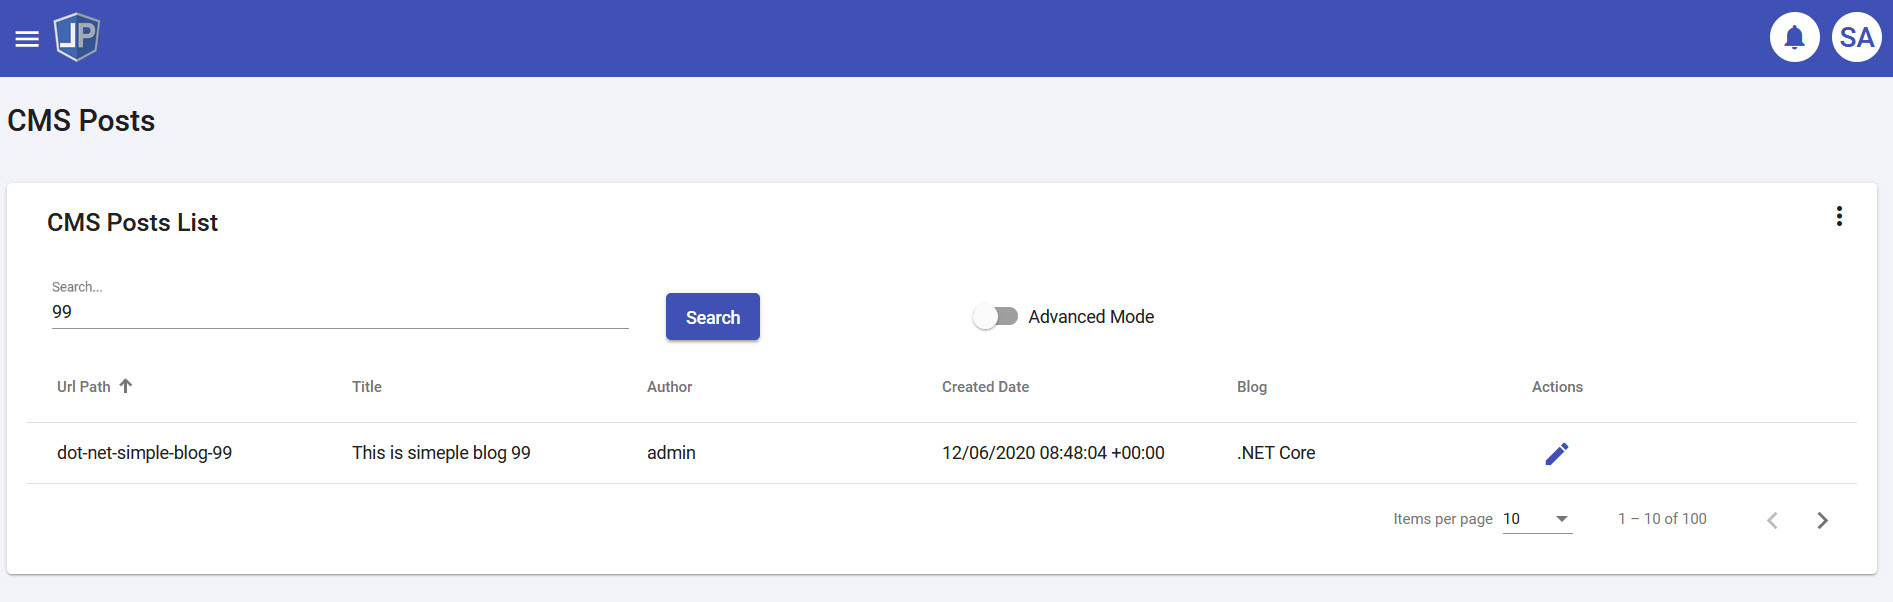
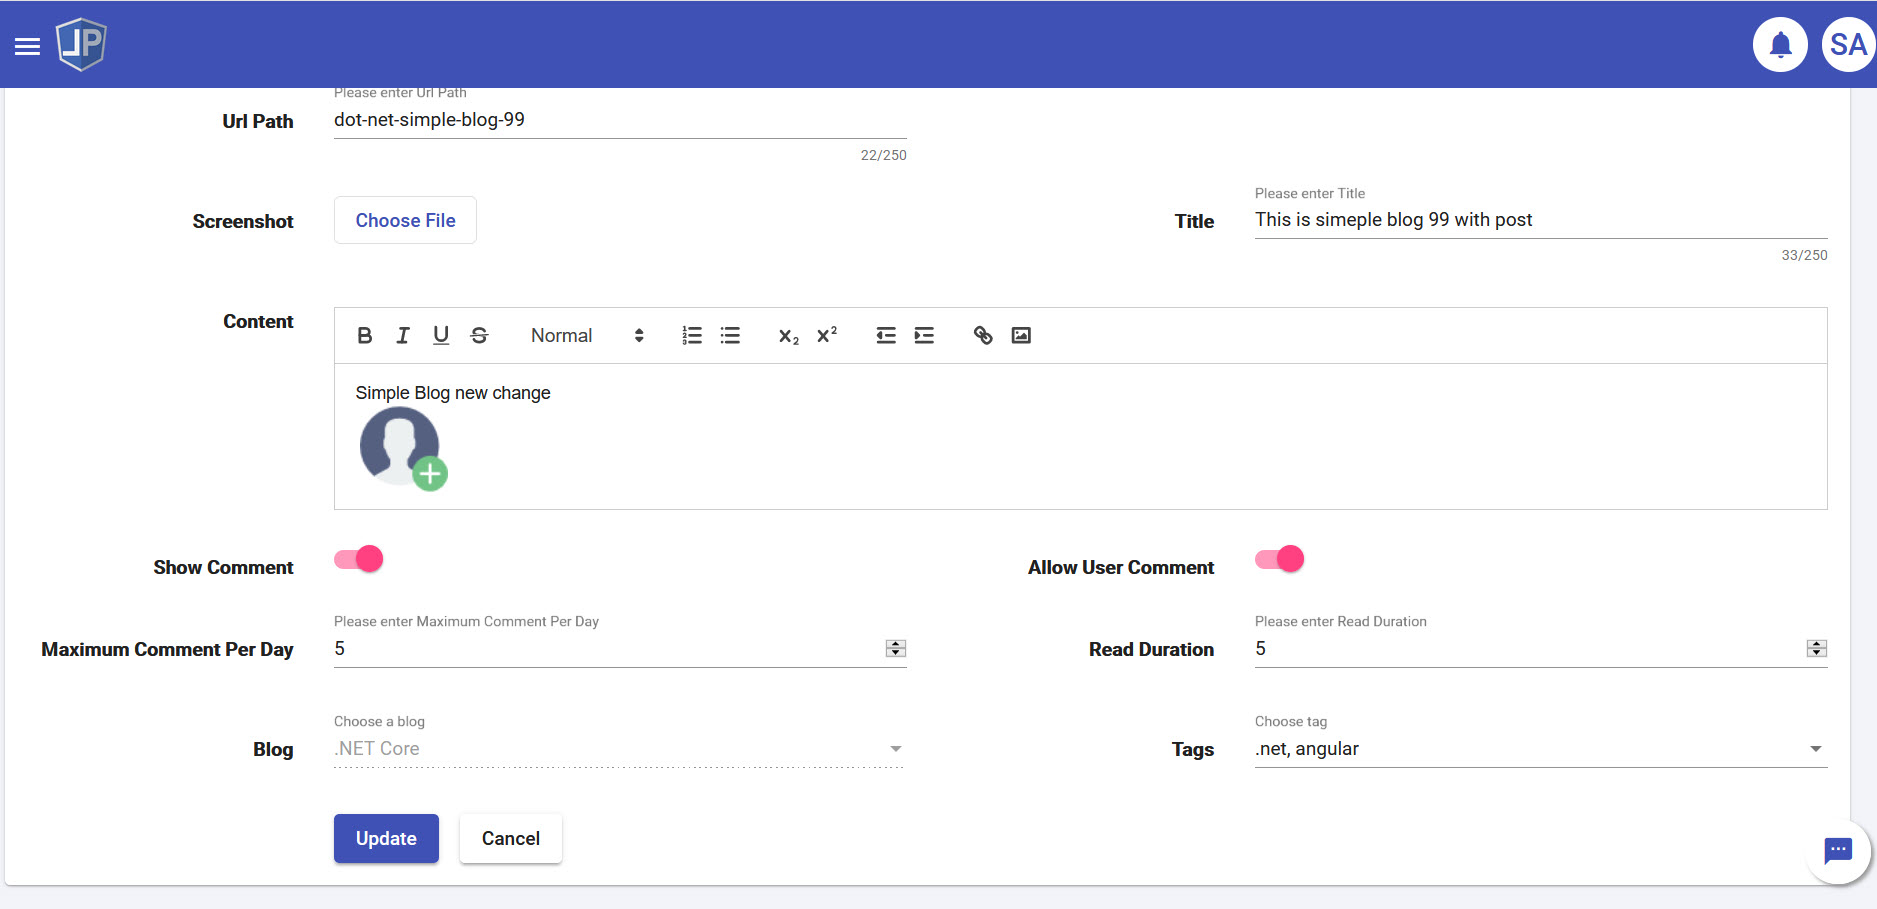
Change the value of Title, Content and tags. Then press Update to apply new change.
Now back to tab of Post 99, press Ctrl + F5 to refresh the change.